DIY Nursery Peg Board

Every mama to be dreams of decorating the perfect nursery. A DIY Nursery Pegboard makes decorating and organizing at the same time a breeze. Follow this step by step tutorial for building your own peg board to hang your nursery essentials!
This post contains affiliate links.
Every mama to be dreams of decorating the perfect nursery. I created a secret Pinterest board planning the nursery as soon as I knew I was pregnant.
Since then one of my biggest dreams for the nursery was creating a nursery peg board. I saw a few on Pinterest and knew I had to have one in our future babe's nursery.
For this project, you don't have to be a power tools expert. However, there are a few things you'll need to be comfortable with:
- A
- A
- A
If you don't have saws at your disposal, you can also have the peg board cut at Lowe's or Home Depot for just a few extra bucks. Which you may need to do anyway if you have a smaller car. The board comes as a 4'x4' board and barely fit into my SUV.
The prep time for getting the board ready was fairly minimal, what actually took me the longest was deciding what all to include on the board. Here are the basic steps to creating your own pegboard:
DIY Nursery Peg Board
You'll Need These Materials:
- 1 peg board (I cut mine down to 3'x2.5')
- 3 pieces of 1'x2' board (cut three inches shorter than the width of your board)
- Screws
- Optional: 4 pieces of molding for frame
- (hooks, etc.)
How to Make a DIY Nursery Peg Board
- Cut peg board to desired size (using )
- Using , cut 1'x2' board into three pieces 6" shorter than the width of your peg board
- If you're making a frame, measure board for frame to be the width/height of your frame minus 3 inches. Put a mark where that measurement lines up and miter the edge at a 45 degree angle. You'll need to make sure to cut the top and bottom pieces exactly the same sizes and the two side pieces the same sizes as well.
- Spray paint board and 1'x2' pieces the same color. The 1'x2' pieces can be roughly painted, just enough to not show wood through your painted peg board.
- Spray paint frame, if needed
- To assemble frame, use wood glue to glue the bottom and two side pieces together. Then glue to board, using a clamp to secure while drying or heavy books.
- Once frame is dried to board, take 1'x2' pieces to mount to the wall. Be sure to measure how high off the ground you want the board to be. Predrill three holes horizontally along the 1'x2' pieces drilling into a stud in the wall, starting with the top piece. Make sure your piece is level after drilling the first hole and securing with a screw. Then continue with the next two screws to secure (right side first then middle).
- Repeat steps for bottom piece, making sure it is lined up with the top piece and also level. The middle piece can be eye balled for where the middle is, just be sure it lines up with the other two and is level also.
- Then it's time to mount the peg board to the mounting boards you just installed. We decided to do three screws again just to make sure it's secured into the wall. You'll need to predrill the hole through the peg board material then secure with a screw. Follow the same pattern as the mounting boards, leveling along the way.
- Finally once you have your board installed, glue the final piece of frame onto the other frame pieces and the board. Use clamp to secure or hold with your hand until dry.
- Add your peg accessories and decorate!
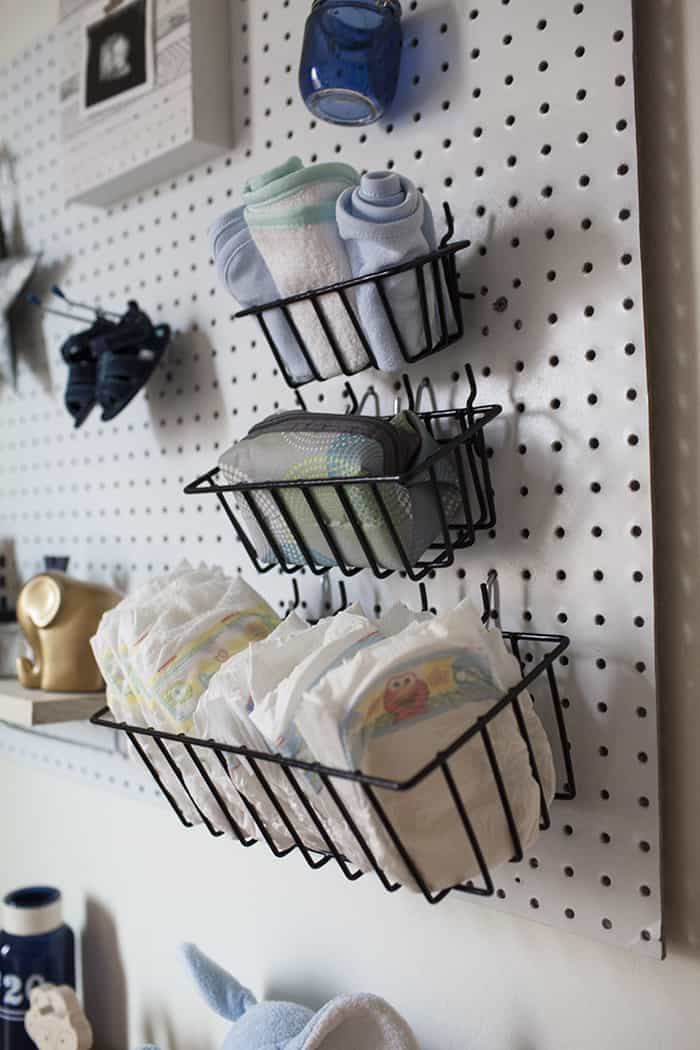
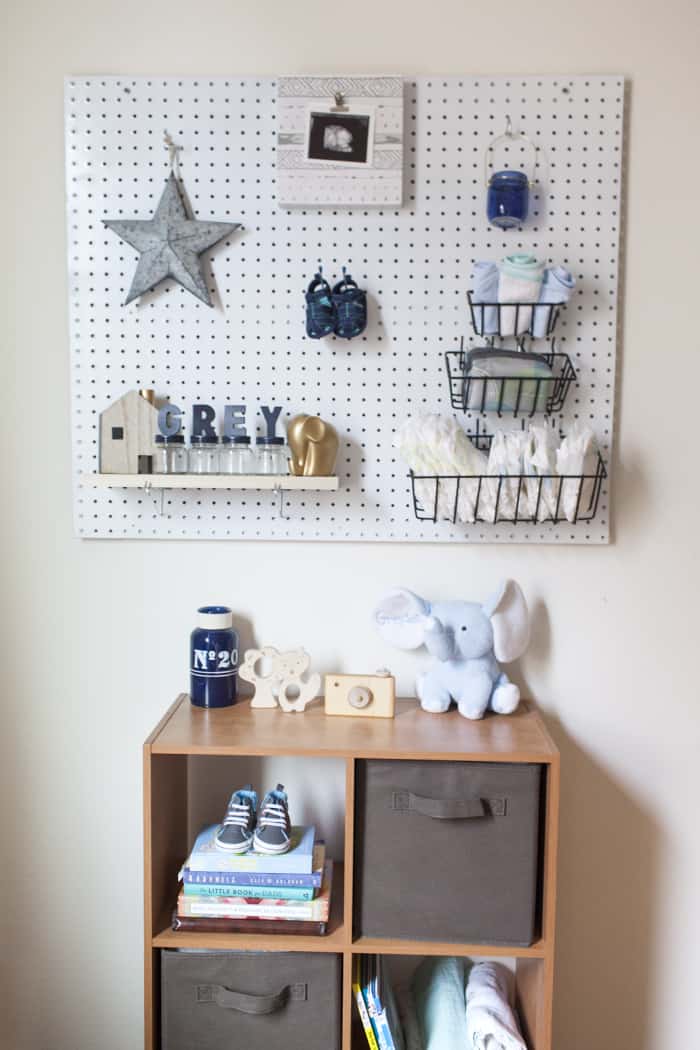
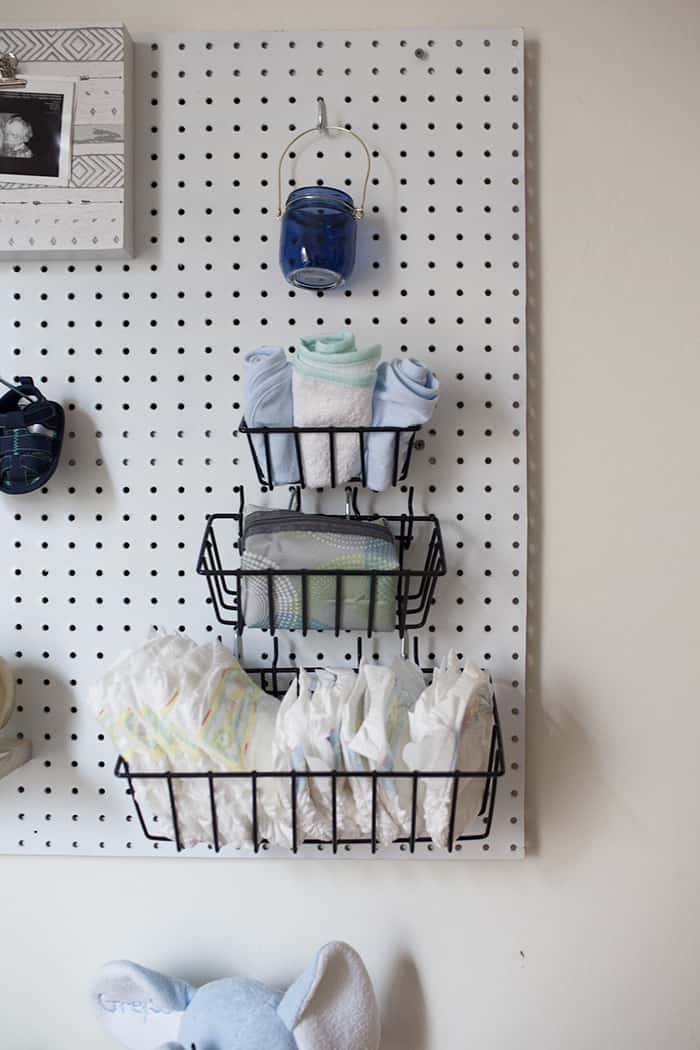
I really wanted the things I hung on the peg board to be cute but also functional. These were perfect for adding in diapers, a grooming kit and some washcloths so that the essentials could be in reach.
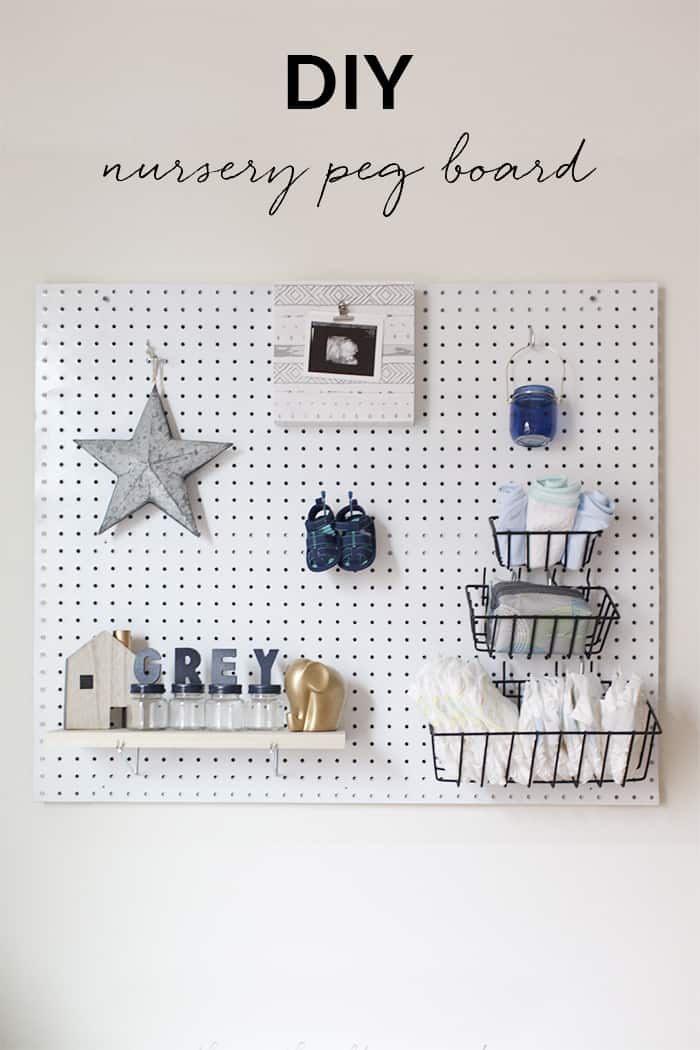
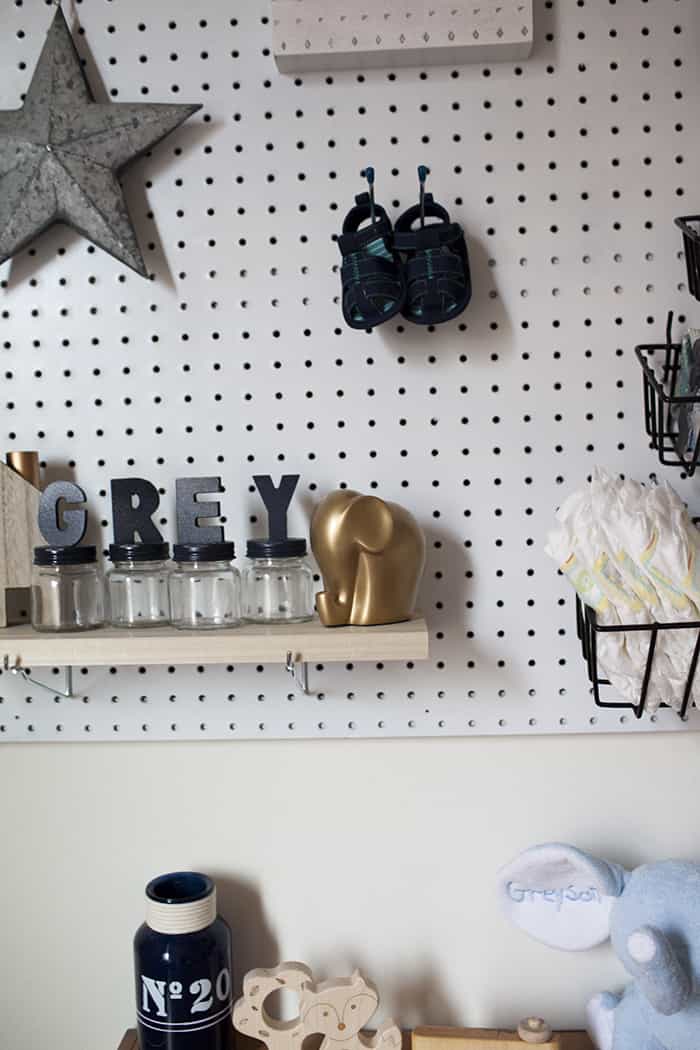
I will probably end up adding a second shelf and possibly staining them a darker color wood, but the shelf was actually my favorite part. I added the nursery jar lids I made as well as the elephant and wooden home that I found at Hobby Lobby.
This nursery peg board is another way to do a fun gallery wall feature, without having to hang each individual piece on the wall.
I love how versatile this nursery peg board is and that as time goes on I'll be able to switch out the pegs since it is mounted on the wood instead of flush to the wall.

DIY Nursery Peg Board
Equipment
- [Circular Saw]
- [Miter Saw]
Materials
- 1 piece peg board (I cut mine down to 3'x2.5')
- 3 pieces board 1'x2' (cut three inches shorter than the width of your board)
- screws
- peg board accessories
Instructions
- Cut peg board to desired size (using a circular saw).
- Using miter saw, cut 1 x 2 board into three pieces 6 inches shorter than the width of your peg board
- If you're making a frame, measure board for frame to be the width/height of your frame minus 3 inches. Put a mark where that measurement lines up and miter the edge at a 45-degree angle. You'll need to make sure to cut the top and bottom pieces exactly the same sizes and the two side pieces the same sizes as well.
- Spray paint board and 1 x 2 pieces the same color. The 1 x 2 pieces can be roughly painted, just enough to not show wood through your painted peg board.
- Spray paint frame, if needed.
- To assemble frame, use wood glue to glue the bottom and two side pieces together. Then glue to board, using a clamp to secure while drying or heavy books.
- Once frame is dried to board, take 1 x 2 pieces to mount to the wall. Be sure to measure how high off the ground you want the board to be. Predrill three holes horizontally along the 1 x 2 pieces drilling into a stud in the wall, starting with the top piece. Make sure your piece is level after drilling the first hole and securing with a screw. Then continue with the next two screws to secure (right side first then middle).
- Repeat steps for bottom piece, making sure it is lined up with the top piece and also level. The middle piece can be eye balled for where the middle is, just be sure it lines up with the other two and is level also.
- Then it's time to mount the peg board to the mounting boards you just installed. We decided to do three screws again just to make sure it's secured into the wall. You'll need to predrill the hole through the peg board material then secure with a screw. Follow the same pattern as the mounting boards, leveling along the way.
- Finally once you have your board installed, glue the final piece of frame onto the other frame pieces and the board. Use clamp to secure or hold with your hand until dry.
- Add your peg accessories and decorate!

I'll teach you how to make simple from-scratch recipes, like seasonings, sauces, dinners and even desserts, that make cooking from home less overwhelming and more enjoyable.
My recipes have been featured on publications like South Your Mouth, Fun.com, Her Campus, Mental Floss, and the TastingTable.


How cute is this?! Love those small wire baskets. Good job!
what a FUN giveaway--i am SO SO SO excited for it. and you're exactly right, having a peg board is the easily switchable version of a gallery wall. it's so cute!
OH my gosh. I'm in love! I'm also so happy to see something from the shower in use! 😉 Would you believe I found it in the Christmas section? Hahaha. Anyway, fantastic job, friend! I can't wait to meet the little boy that will also love that space!
Peg boards are so great! And baby shoes are one of the cutest things ever!
This is such a smart way to both organize and decorate!! Pinning this. 🙂 And every mama in hopes to be dreams of decorating, too. 🙂
I love this!! Such a good storage idea, too!
Such a great idea to hang all your baby stuff! Peg boards are so versatile and I love how they can still look pretty!
I like this, would really like it somewhere in my house
What a fun project Madison! I've been thinking about making a peg-board planter shelf... we'll see!
This is adorable! There is just something I love about peg boards. I think it's how they create organization in such a pretty way. I have been planning to use peg board in my laundry room to organize cleaning supplies. I really appreciate this tutorial! I'm going to use it as my inspiration and modify it to what I need.
I love this! We were thinking about using a peg board for our craft fair display, and I think you've pretty much sold me! - Jenny
So, I'm pretty much obsessed with any project you do but this peg board is just too cute. And I love that you can change everything out as Greyson gets older, that's so smart! Definitely saving this for later because now I want to make one. 😉
Oh Madison!!! I LOOOOOVE this! It turned out so beautiful!
I love this idea! It would be great for an office too. Definitely pinning it to remember for future use!
Love how this turned out, Madison! So cute! I just recently did a pegboard project for my bedroom. I LOVE how functional they are but still a cute way to add decor! Perfect!!! 🙂 Little Grey's nursery is going to be so wonderful!