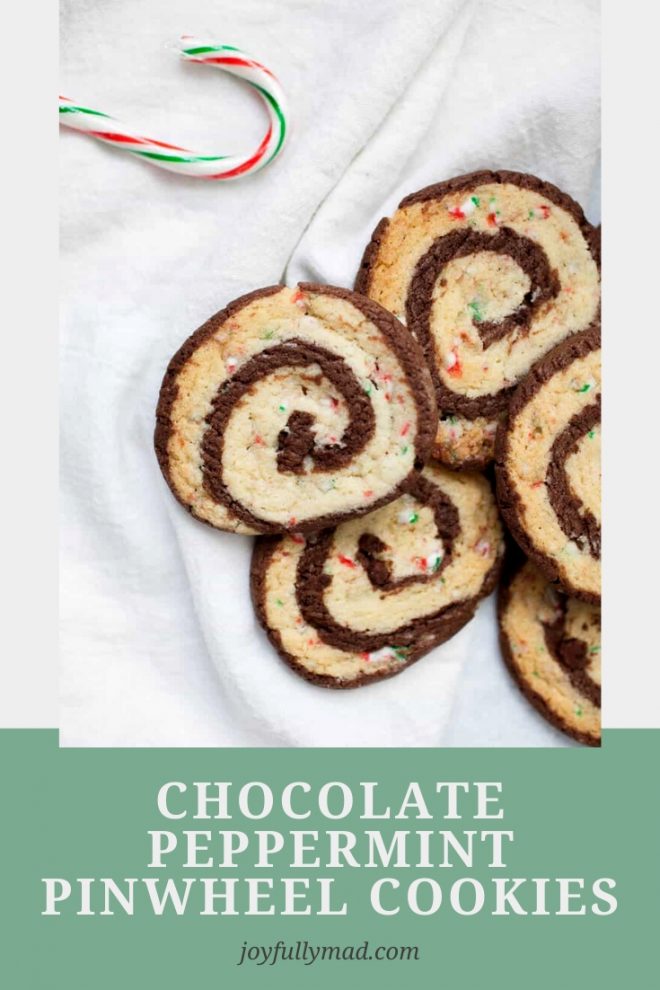
Pinwheel Cookies


Pinwheel Cookies are the perfect cookie to share during the holidays! If you dream about the combination of peppermint and chocolate together during the holidays, these pretty swirled cookies will be your new favorite Christmas cookie.
This post contains affiliate links.
Pinwheel Cookies Recipe
When I think of the holiday season, I think of peppermint. From candy canes to cookies, I'll take it all. Usually, I am not a huge fan of chocolate and peppermint together, but I wanted to try to come up with a recipe that I would like that had a good balance of the two. And I am sucker for homemade York peppermint patties!
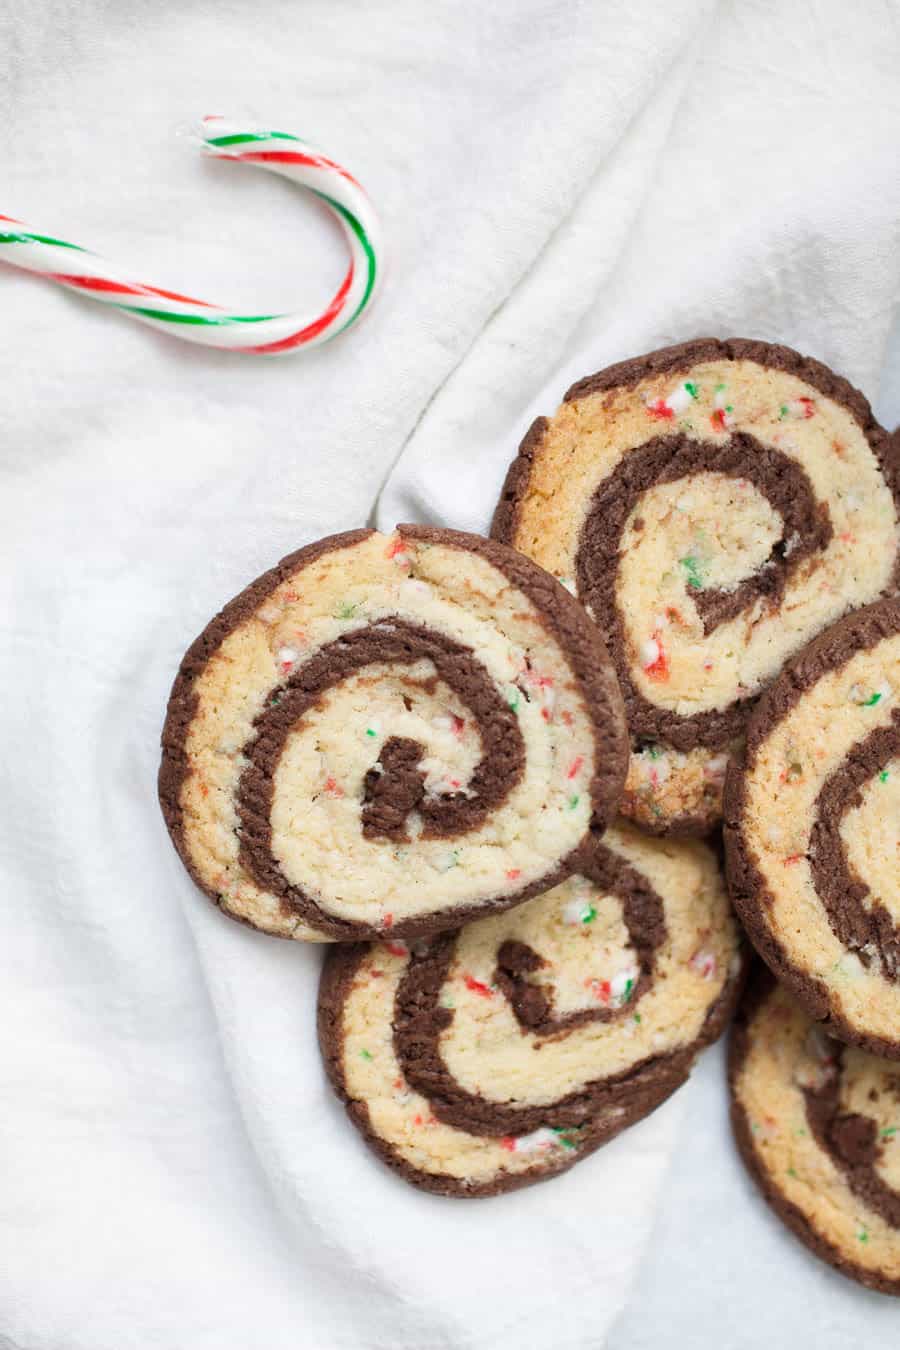
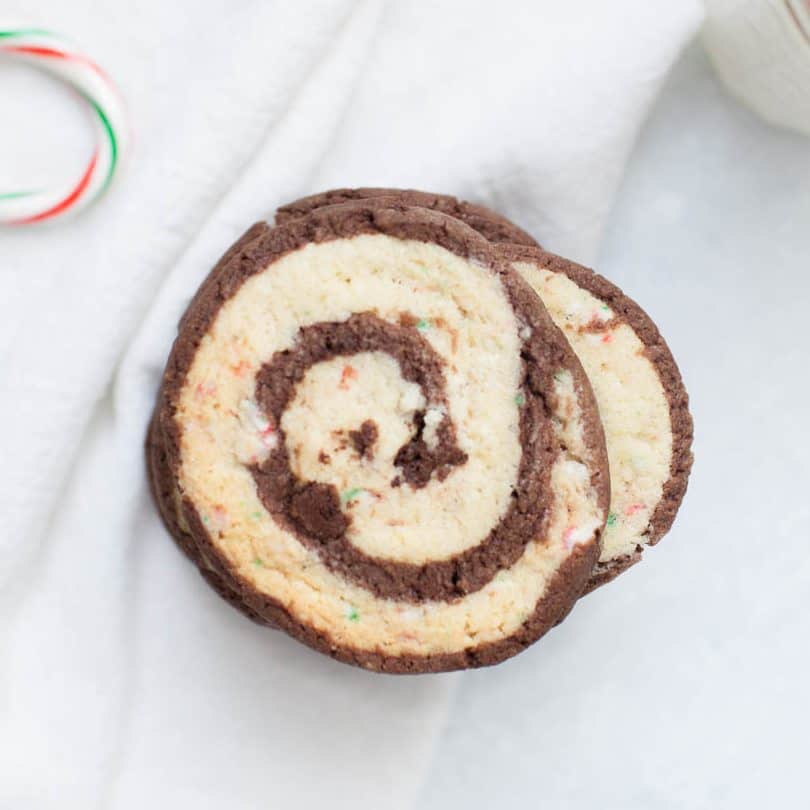
And that's how I dreamed up these Christmas pinwheel cookies! These pretty swirl cookies are made with two sheets of cookie dough.
One is a smooth chocolate cookie dough, and the other is infused with white chocolate, peppermint and candy cane pieces. They dough is layered on top of each other and then rolled up together into a cookie dough log.
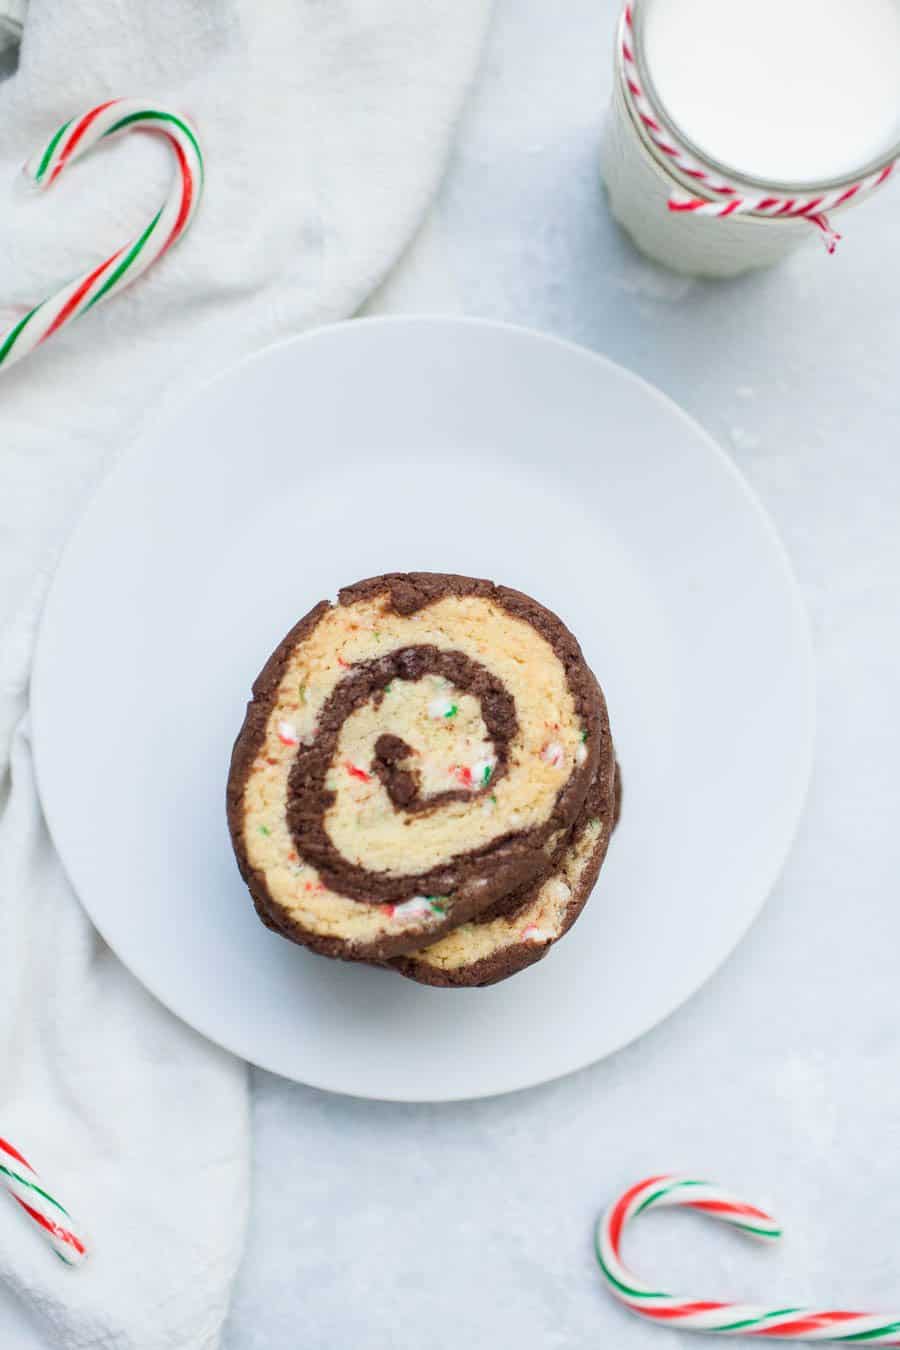
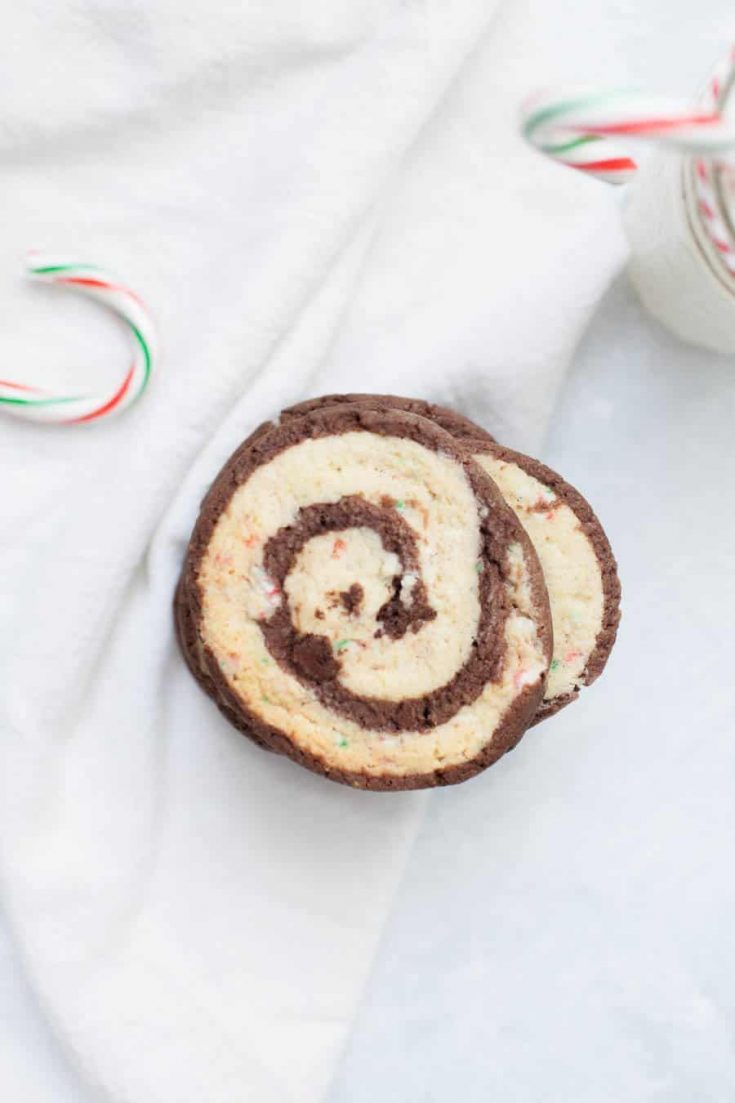
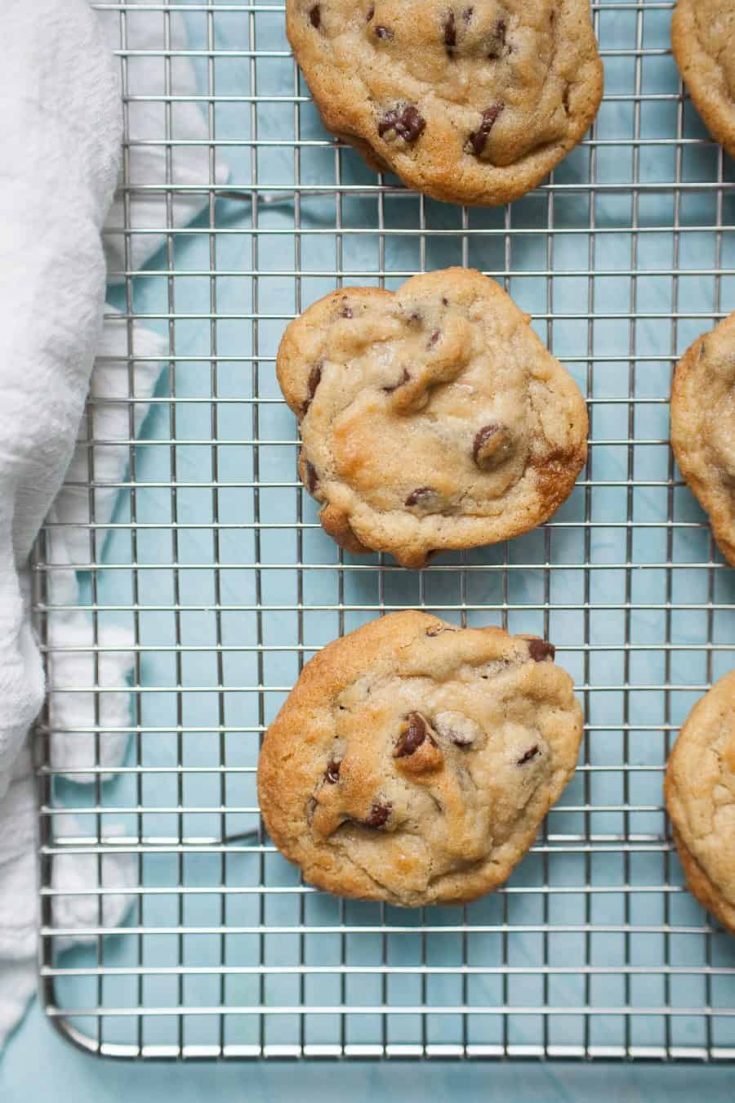
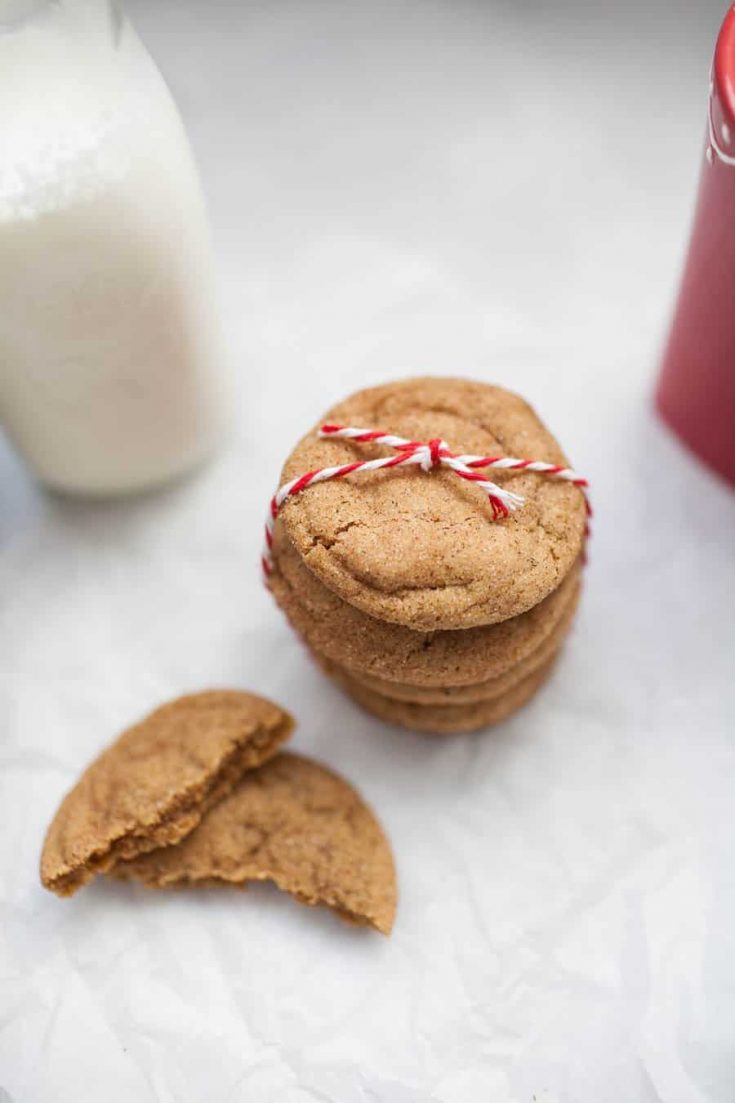
Then, when you slice it, each cookie has festive pinwheel swirls! These chocolate pinwheel cookies taste like peppermint bark, but in cookie form - so yummy. They're a lovely treat to add to dessert tables with other sweet creations like saltine toffee and pecan pie dip. I love to make them with gingerbread cookies for cookie platters too.
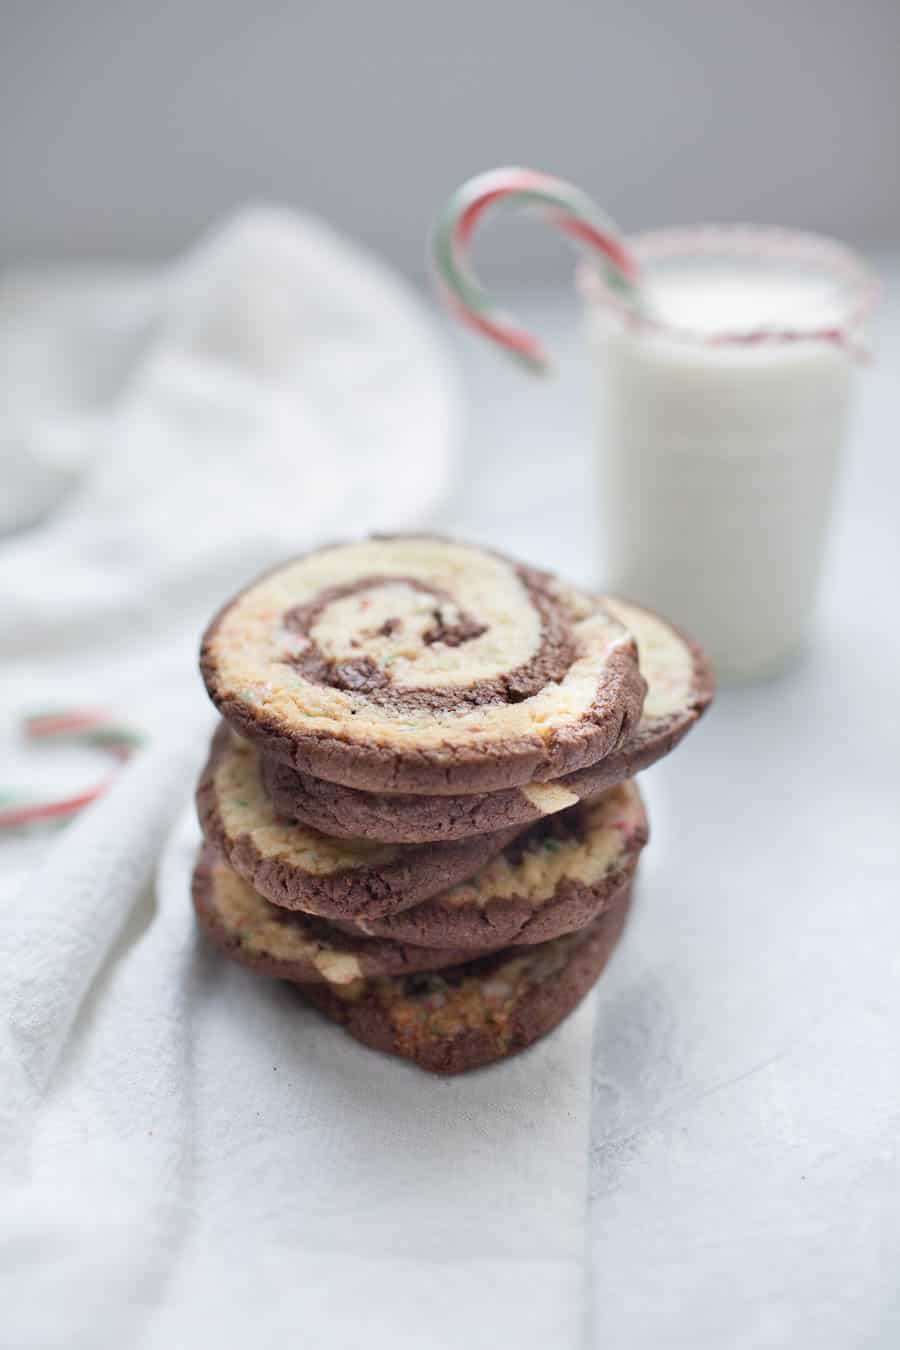
With a soft center and perfectly crispy edges, these freshly baked cookies have a melt-in-your-mouth texture. So, if you've ever had an internal debate about soft versus crispy cookies, these chocolate peppermint pinwheel cookies are the answer!
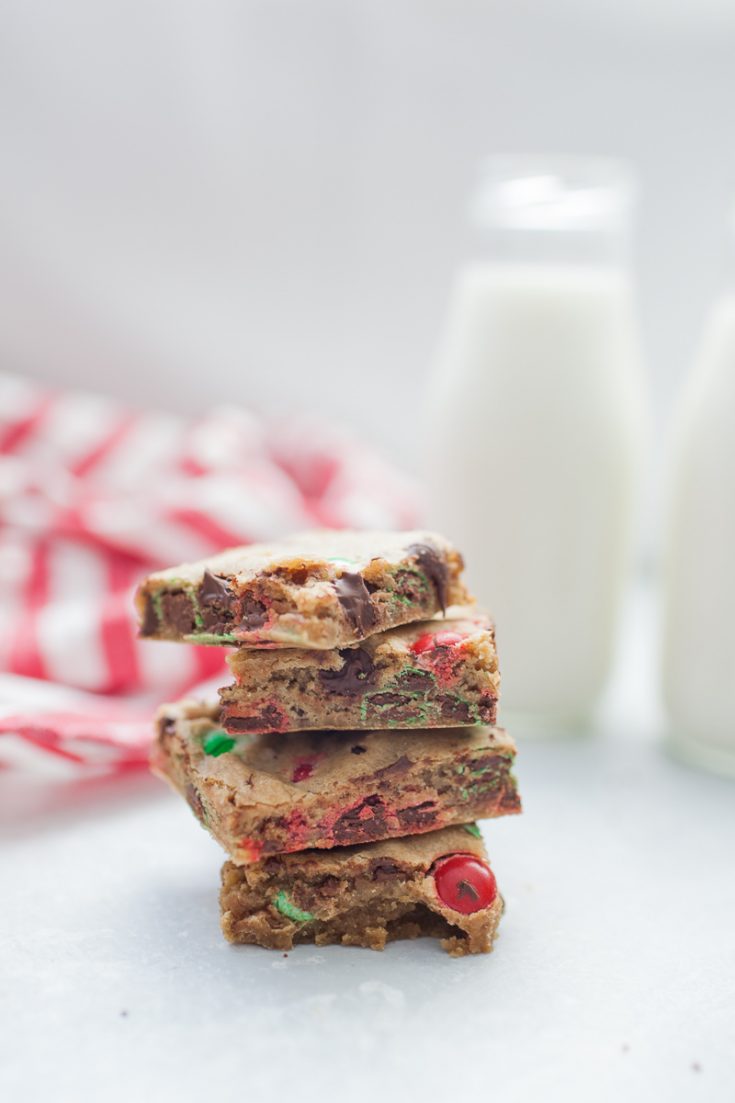
If you love this flavor combination, you'll love these White Chocolate Peppermint Cookies too! And don't forget that Christmas cookies are the perfect pairing with Rudolph's tipsy punch.
Why You'll Love this Recipe
I could list a million reasons why I love a festive pinwheel cookie. Here's a few:
- These gorgeous cookies are just absolutely perfect for a cookie swap. People will ooh and ahh over how pretty they are.
- The flavor of these cookies is unmatched. They far exceed anything you can buy at the grocery store and are just delicious.
- Since the two layers of dough are rolled together, the chocolate outside layer gets crispy while the inner peppermint layer stays soft. It is the best combination between soft and crispy!
Ingredients
Ready to make one of the best Christmas cookie recipes? Here is what you will need:
- unsalted butter, softened
- granulated sugar
- egg
- pure vanilla extract
- fine pastry flour
- salt
- baking soda
- unsweetened cocoa powder
- milk chocolate chips, melted
- smashed candy canes
- peppermint extract
- white chocolate chips, melted
Substitutions and Variations
For a festive pop of color, add ¼ cup of red and green sprinkles to the vanilla cookie dough when you add the peppermint candies.
Make red dough by adding 6-8 drops of red food coloring to the vanilla dough after you've removed half for the chocolate.
At the end of creating the chocolate dough, stir in ½ cup of mini chocolate chips or mini M&M's for more chocolate flavor.
Dip each perfect cookies in white or dark chocolate and roll in extra crushed candy canes for more chocolate peppermint flavor and an extra fun presentation.
Use different color candy canes for fun pops of color.

One thing you need to know: I'm going to be straight with you. This is not a simple recipe. Holiday pinwheel cookies will be well worth a spiked peppermint hot chocolate at the end of the day. The dough alone has to chill three times! But if you have some time and want to try a more complicated cookie recipe, you may wish to try these pinwheel cookies. If you're attending a party or visiting family for the holidays, these are the perfect treat to bring! I promise they are worth it.
Because the cookie dough does need a lot of time to chill, these may not be the ideal cookie to make if you're the one hosting and cooking all the other food.
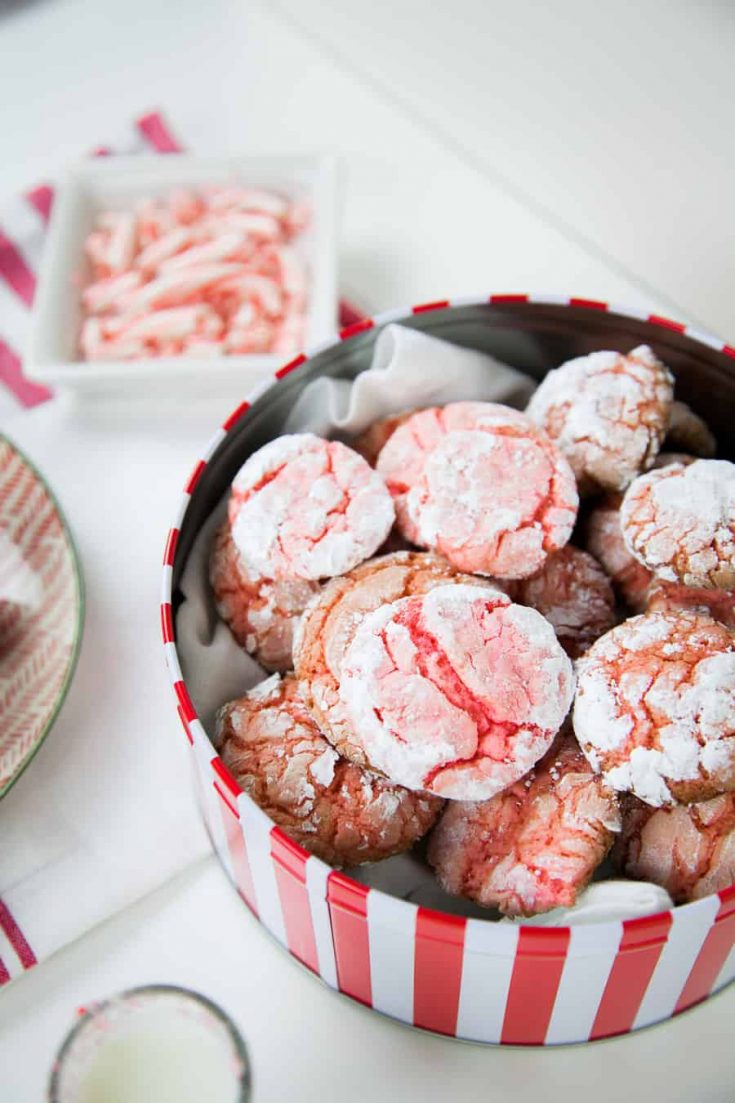
If that sounds like you, then you might want to try my 6-ingredient peppermint crinkle cookies.

How to make Peppermint Chocolate Pinwheel Cookies
Let's walk through how to make these Christmas pinwheel cookies. It seems complicated because it's a lot of steps, but I know you can do it!
Make the dough
First, cream together the butter and sugar in the bowl of a stand mixer or in large mixing bowl with a handheld mixer. It's a lot of mixing, but you can do it by hand, too.
Once combined, add the egg and ½ teaspoon vanilla extract.
Divide dough into two bowls. You can use a kitchen scale if you want to be precise, but eye-balling it is okay, too!
Make the Chocolate Cookie Dough
In the first bowl, we'll make the chocolate dough with one half the dough. Add cocoa powder and 1 teaspoon vanilla.
Then melt chocolate chips in a microwave-safe bowl. Melt for 30 seconds, then stir. Continue melting in 15-second intervals until melted completely. Do not burn!
While the melted chocolate is still warm, add it to the chocolate dough and mix until combined.
Place the chocolate dough on top of plastic wrap, and using your hands shape it into a roughly-shaped rectangle. Wrap it up and set it aside.
Make the Peppermint Dough
In a second bowl, add candy cane pieces, peppermint extract and melted white chocolate chips. Repeat steps for melting chocolate chips above, but keep in mind that white chocolate will melt faster.
Shape the peppermint dough with hands into a roughly-shaped rectangle on top of plastic wrap. Wrap it up well!
Then place both sets of wrapped dough on a cookie sheet and chill in the refrigerator for 30 minutes.
Make the logs
Remove each roll of cookie dough from the fridge and peel off the plastic wrap. Place each ball of dough onto a large sheet of wax paper.
Place another sheet of wax paper on top of the dough - this will keep it from sticking to the rolling pin. Then use a rolling pin to roll dough into a rectangle about an inch thick.
Repeat with the second set of dough, trying to keep the shapes of the two as similar as possible.
Without removing the waxed paper, layer the dough onto a baking sheet and refrigerate for 1 hour. This will make it easier to roll the cookies into the swirled pinwheel shape, jelly-roll style.
Remove the dough from the fridge and peel off the top layer of wax paper from each.
Invert the peppermint on top of the chocolate dough, aligning the two layers as closely as possible. Use your rolling pin to gently seal the two layers together by rolling over the top layer.
Peel off the top layer of wax paper. Start with the edge of the dough closest to you and tightly roll the edge of the dough over so there is no gap in the center of the pinwheel.
Use the wax paper to help continue rolling the dough into a tight log shape. You want to try to keep the log as compact as possible.
Wrap the cookie log in another piece of plastic wrap and refrigerate for another 1-2 hours. This is the last chill time, I promise! But you don't want to skip this step so the log will slice beautifully.
Bake the cookies
First, preheat your oven to 350°F (177°C). You can line a baking sheet with parchment paper or a silicone baking mat, but I've never had a problem with baking them right on my cookie sheets.
Remove from the fridge and use a sharp knife to cut ¾ inch thick slices.
Place on the prepared baking sheets, spacing them 1 inch apart, and bake for 12-14 minutes. Cookies will expand just a little bit.
Let the cookies rest on the baking sheet for a minute, then move them to a wire cooling rack while cookies are still warm to cool completely.
Serve, or store for later!
How to Store Pinwheel Cookies
Place fresh cookies into an airtight container and store at room temperature for up to 4 days. You can also freeze the final log of dough! Wrap it in plastic wrap and place it into a freezer safe bag. When you're ready to bake cookies, allow it thaw enough to where you can slice the pinwheels and then bake. Depending on how cold the dough still is, you may need to add an extra minute or two of baking time.
Tips for Success
I want you to have the most fun and make the best cookies. So here are a few tips to keep you on the right track:
- I found that the best thing was to have two bowls for my stand mixer when I split my dough in half. You can also use a mixing bowl. I prefer using a stand mixer because it's hands-free, but you could also use a handheld mixer. Regardless, two bowls will help!
- Don't let the process intimidate you though. Luckily it's one of those types of recipes where even if you "mess it up", you're not going to end up with an inedible cookie, it just may not be picture perfect.
- Before you begin the baking process, make plenty of space in your fridge where the dough can chill.
More Cookie Recipes

The Sweetest Season: Holiday Cookie Recipes
This post is brought to you as part of The Sweetest Season, my friend Erin's annual virtual cookie exchange! Every year, she gets food bloggers together to share new holiday cookie recipes for your holiday parties
We're also raising awareness about and fundraising for Cookies for Kids' Cancer, a recognized 501(c)3 non-profit organization dedicated to funding research for new, innovative and less-toxic treatments for childhood cancer. If you'd like to join us, donate to our C4KC fundraising page.

Did you make this recipe?
If you make and love this recipe, please leave a ★★★★★ review below! It means so much to me when you try my recipes, and I'd love to know how it goes. Please leave a comment below if you have any questions.
Pinwheel Cookies
Equipment
Ingredients
- ½ cup 1 stick unsalted butter, softened
- ½ cup granulated sugar
- 1 egg
- ½ teaspoon vanilla extract
- 1 ½ cups fine pastry flour
- ¼ teaspoon salt
- ¼ teaspoon baking soda
- 1 ½ teaspoon unsweetened cocoa powder
- ½ cup milk chocolate chips melted
- 1 teaspoon vanilla extract
- ¼ cup smashed candy canes around 3-4 candy canes
- ½ teaspoon peppermint extract
- ½ cup white chocolate chips melted
Instructions
Make the dough
- Cream together butter and sugar using a KitchenAid Stand Mixer or handheld mixer. Once combined, add egg and ½ teaspoon vanilla extract.
- Split dough into two bowls. (You can use an electric kitchen scale if you want to be precise, but eyeballing it is okay, too.)
- In first bowl, add cocoa powder and 1 teaspoon vanilla.
- In a microwave-safe bowl, melt chocolate chips. Melt for 30 seconds, then stir. Continue melting in 15-second intervals until melted completely. Do not burn! While melted chocolate is still warm, add to chocolate dough until combined. Shape dough with hands into a roughly shaped rectangle on top of plastic wrap. Set aside.
- In second bowl, add candy cane pieces, peppermint extract and melted white chocolate chips (repeat steps for melting chocolate chips above. White chocolate may melt faster.). Shape peppermint dough with hands into a roughly shaped rectangle on top of plastic wrap.
- Place both sets of wrapped dough on a cookie sheet and chill in refrigerator for 30 minutes.
Roll out the dough
- Remove dough from fridge and plastic wrap and place each set of dough onto a large sheet of wax paper. Place another sheet of wax paper on top of dough. Use a rolling pin to roll dough into a rectangle about an inch thick.
- Repeat with second set of dough, trying to keep the shapes of the two as similar as possible. Without removing the waxed paper, layer the dough on a baking sheet and refrigerate for 1 hour. Remove dough from the fridge and peel off the top layer of wax paper from each.
Make the logs
- Invert the peppermint on top of the chocolate dough, aligning the two layers as closely as possible. Use your rolling pin to gently seal the two layers together by rolling over the top layer. Peel off the top layer of wax paper.
- Start with the edge of the dough closest to you and roll the edge of the dough over so there is no gap in the center of the pinwheel. Use the wax paper to help continue rolling the dough into a tight cylinder. You want to try to keep the cylinder as compact as possible. Place rolled cylinder into a piece of plastic wrap and refrigerate for 1-2 hours.
Bake
- Preheat oven to 350°F (177°C). Prepare a baking sheet. (You make also line it with parchment or a silicone baking mat, or bake straight onto the baking sheet.)
- Remove from fridge and use a sharp knife to cut pinwheels that are about ¾-inch thick. Place on baking sheets, spaced an inch apart, and bake for 12-14 minutes. Cookies will expand just a little bit.
- Let the cookies rest on the baking sheet for 1 minute, then move them to a wire cooling rack (while cookies are still warm) to cool.
Nutrition

I'll teach you how to make simple from-scratch recipes, like seasonings, sauces, dinners and even desserts, that make cooking from home less overwhelming and more enjoyable.
My recipes have been featured on publications like South Your Mouth, Fun.com, Her Campus, Mental Floss, and the TastingTable.


Madison, these look SO GOOD! Baking with candy canes this time of year is my favorite. I really want to try these!